How to carve a pumpkin safely and creatively
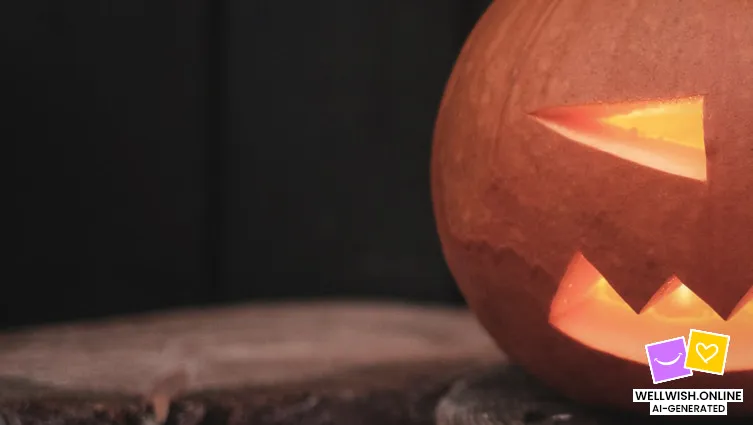
Discovering the Art of Pumpkin Carving
Every autumn, the tradition of pumpkin carving brings families and communities together in a celebration of creativity and festivity. This practice, while joyful, requires attention to detail and caution to ensure it is both fun and safe. The journey from a plain pumpkin to a glowing masterpiece involves more than just cutting; it is an opportunity to explore imagination and develop new skills. In this article, you will find comprehensive guidance on mastering the craft, focusing on techniques that prioritize safety without compromising artistic expression.
Essential Preparations for a Successful Pumpkin Carving Experience
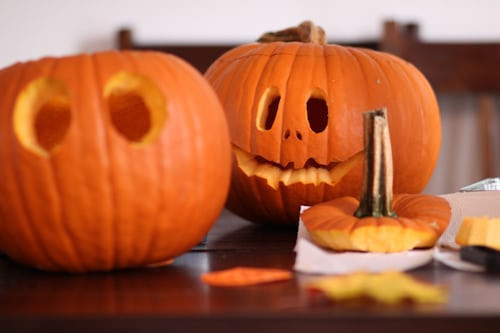
Before picking up any tools, setting the stage for a smooth pumpkin carving session is vital. Preparation minimizes risks and maximizes enjoyment. It starts with selecting the ideal pumpkin, gathering the right tools, and creating a comfortable workspace. Each of these elements plays a crucial role in the overall outcome.
Choosing the Perfect Pumpkin
Selecting a pumpkin that suits your design and skill level lays the foundation for a satisfying carving process. A pumpkin with a sturdy stem, smooth surface, and minimal blemishes is preferable. Size matters too; larger pumpkins offer more room for intricate designs, while smaller ones are easier to handle and quicker to carve.
Gathering the Right Tools
Specialized pumpkin carving kits are widely available and often include serrated saws, detailers, and scoops designed for safer and more efficient work. Avoid using large kitchen knives, which can be unwieldy and dangerous. Having tools specifically designed for this craft reduces the risk of accidents and allows for more precise cuts.
Setting Up a Safe and Organized Workspace
A well-lit, flat surface with plenty of space to work enhances control and visibility. Lay down newspaper or a disposable tablecloth to catch pumpkin debris, making cleanup easier. Keep a bowl nearby for seeds and pulp to maintain a clutter-free area. Ensuring the workspace is free from distractions also contributes to a safer carving environment.
Step-by-Step Guide to Pumpkin Carving
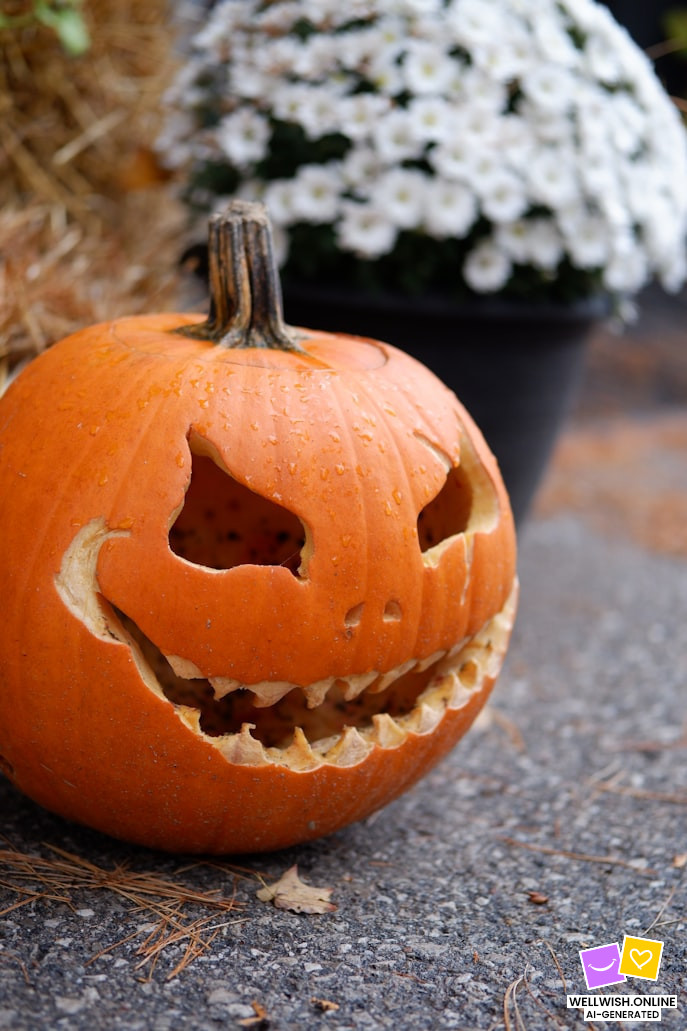
The process of carving a pumpkin can be broken down into manageable stages, each requiring attention and care. Following a systematic approach helps maintain safety and encourages creativity throughout the project.
Preparing the Pumpkin
Begin by cutting a lid around the stem at a slight angle to prevent it from falling inside. Remove the top and set it aside. Use a sturdy scoop or spoon to clean out the seeds and stringy pulp thoroughly. This step is crucial to ensure the pumpkin is hollow and ready for carving.
Transferring the Design
Choose a pattern that matches your skill level. Simple geometric shapes are ideal for beginners, while more intricate designs can be attempted by experienced carvers. Transfer the design onto the pumpkin’s surface using a washable marker or by poking small holes along the pattern’s outline with a pin or needle. This method provides a clear guide for cutting.
Carving Techniques
Start with the larger cuts, following the outline carefully with a small serrated saw. Use gentle, controlled motions to avoid slips. For detailed areas, switch to finer tools included in carving kits. Taking breaks to rest your hands can prevent fatigue and maintain precision. Remember to carve away from your body and keep fingers clear of the blade’s path.
Creative Approaches to Pumpkin Design
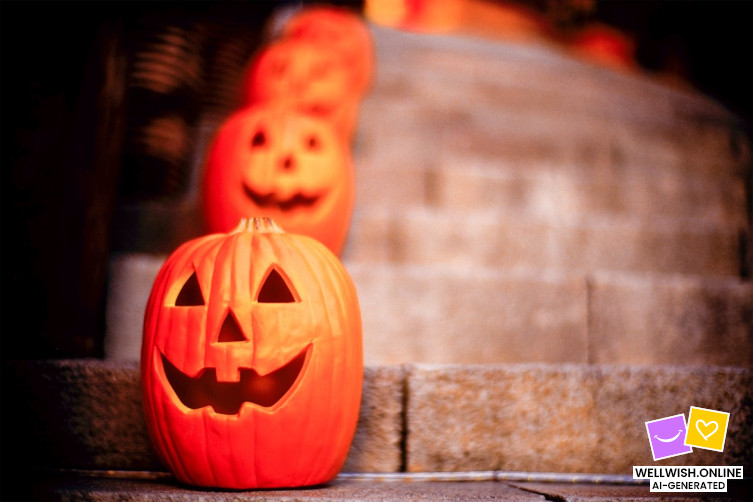
Beyond traditional faces, pumpkin carving offers endless possibilities to express artistic flair. Incorporating different styles and techniques can transform your pumpkin into a unique centerpiece.
Exploring Different Themes
Consider themes such as spooky, whimsical, or elegant to guide your design choices. For example, a haunted house silhouette can create an eerie effect, while floral patterns add sophistication. Researching ideas online or in books can inspire new directions beyond standard jack-o’-lanterns.
Using Color and Light
Painting the pumpkin surface or adding colorful LED lights inside can enhance the visual impact. Metallic paints, glow-in-the-dark features, or even layering translucent paper inside carved sections can produce fascinating effects after dark. Experimenting with light placement allows for dynamic presentations that captivate viewers.
Incorporating Mixed Media
Combining materials such as fabric, wire, or natural elements like leaves and twigs can elevate your design. Attaching these additions carefully around the carved areas creates texture and depth. This approach encourages thinking beyond the pumpkin’s surface and utilizing diverse artistic methods.
Safety Tips to Keep in Mind During Pumpkin Carving
While creativity is important, prioritizing safety ensures that the carving session is enjoyable for everyone involved. Awareness and precaution can prevent common injuries and mishaps.
Tool Handling and Storage
Always handle sharp tools with care, using firm grips and cutting away from your body. Store knives and saws in a secure place when not in use, especially out of reach of children. If younger participants want to join, assign age-appropriate tasks like scooping seeds or drawing designs.
Maintaining a Clean Work Area
Regularly removing scraps and pulp from the workspace prevents slipping hazards. Keep hands dry to avoid tools slipping during use. Having paper towels or cloths handy assists in maintaining grip and cleanliness throughout the process.
Working at a Comfortable Pace
Rushing increases the likelihood of accidents. Take your time, particularly when working on detailed sections. Encouraging breaks and stretching can reduce hand strain and improve focus. Patience is key to combining safety with artistic quality.
Creative Pumpkin Carving Ideas for All Skill Levels
Inspiration can spark new projects and keep the carving tradition fresh year after year. Below is a table outlining ideas suitable for beginners, intermediate, and advanced carvers, helping you choose a challenge that fits your comfort zone.
| Skill Level | Design Idea | Tools Recommended |
|---|---|---|
| Beginner | Classic Jack-o’-lantern face with triangles and simple shapes | Basic serrated saw, scoop, marker |
| Intermediate | Animal silhouette or geometric pattern | Detailing saws, poking tool, paintbrush for accents |
| Advanced | Intricate scenes, layered carving, mixed media decorations | Variety of carving tools, fine detailers, additional art supplies |
Keeping Your Carved Pumpkin Fresh and Lasting Longer
Extending the lifespan of your carved pumpkin allows you to enjoy your creation well into the season. Proper care reduces shriveling and mold growth, which commonly shorten the display period.
Preservation Techniques
After carving, coat the cut edges with petroleum jelly or vegetable oil to lock in moisture. Refrigerating the pumpkin when not on display slows decay. Spraying with a diluted bleach solution can prevent mold but should be used sparingly to avoid damaging the pumpkin.
Lighting Considerations
Using battery-operated LED lights instead of candles prevents heat buildup, which can accelerate deterioration. Timers on lights also conserve battery life and reduce the need for frequent handling of the pumpkin, preserving its integrity.
Embracing the Joy and Tradition of Pumpkin Carving
Carving pumpkins is more than a seasonal activity; it is a creative ritual that brings people together and fosters artistic growth. By approaching it with care and imagination, you ensure a rewarding experience that delights both young and old. The combination of thoughtful preparation, safe practices, and innovative design opens a world of possibilities for making each pumpkin a unique work of art. Whether you are a first-timer or a seasoned carver, embracing these principles enriches the tradition and keeps the spirit of fall alive.


